
MySQL backups using Percona Monitoring and Management (PMM) seem convenient.
This is Onikai (@fat47) from the Service Reliability Group (SRG) of the Technology Division.
#SRGThe Service Reliability Group primarily provides comprehensive support for the infrastructure surrounding our media services, focusing on improving existing services, launching new ones, and contributing to open-source software (OSS).
This article is located within SRG.DBWGThe DB Working Group is releasing database-related materials that it provides to the entire company.
I hope this is of some help.
IntroductionPercona Monitoring and Management (PMM) isIntroduction to PMMBackup management functionPMM Installation InstructionsVerification environmentBuilding a PMM ServerInstalling the PMM Client and adding nodesPerform backup and restoreEnable the backup management function of the PMM Server.Prerequisites for PMM backup functionalityPerform a backupTry restoringIn conclusion
Introduction
If you've ever used MySQL, you've probably heard of Percona.
This company develops tools such as Percona-Toolkit, which makes MySQL operations easier, and XtraBackup, a backup tool.
Percona has releasedPercona Monitoring and ManagementI tried out this tool because its backup management feature seemed useful.
Percona Monitoring and Management (PMM) is
Introduction to PMM
Percona Monitoring and Management(PMM)This is a monitoring and management tool developed by Percona.
In addition to MySQL, it can also manage PostgreSQL, MongoDB, and other databases.
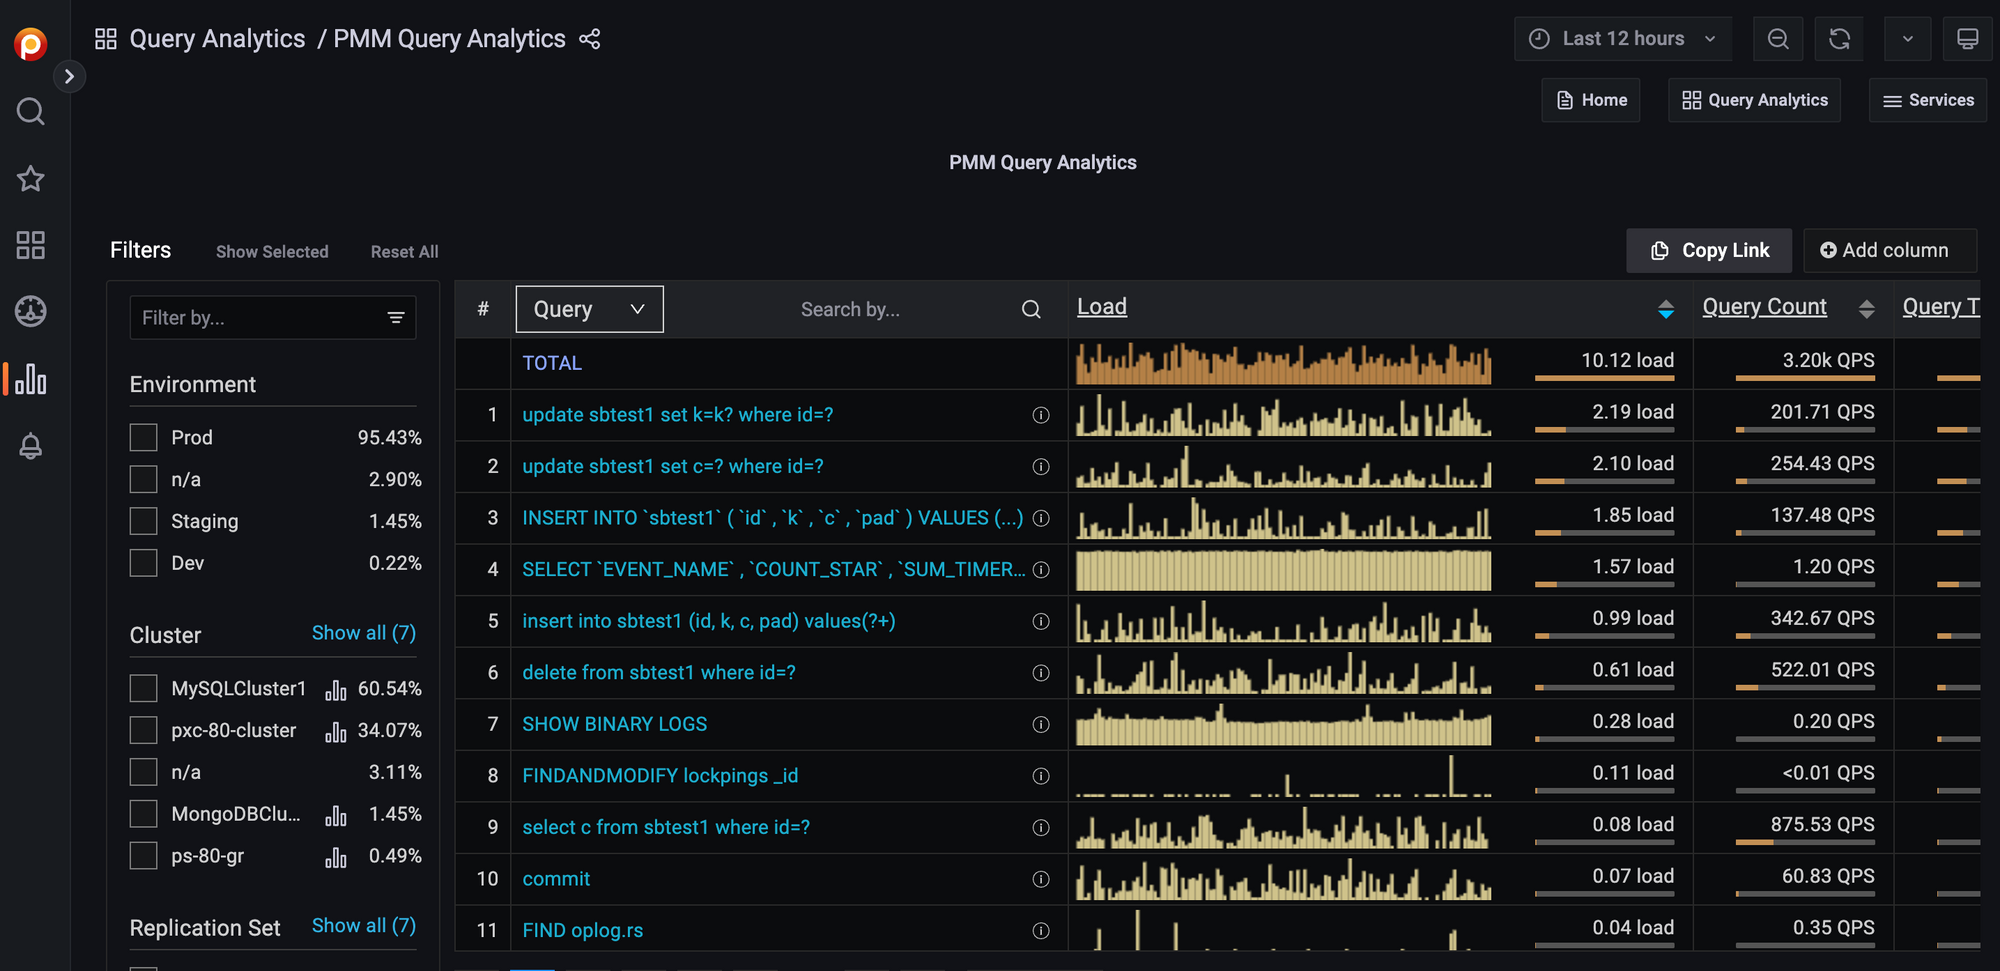
It's a highly functional management tool that also includes features such as query analysis and alerting.
There are two versions of PMM: version 1.x, which has been released since around 2016, and PMM2, which was released as a general availability (GA) version in October 2019.
As of February 2023, the latest release is version 2.34.0.
Backup management function
Today, I'll be trying out the backup management feature that was released as a technical preview feature in version 2.18.0.
As of February 2023, MySQL's backup functionality remains in technical preview.
The limitations of the technical preview of MySQL's backup management feature are as follows:
- Physical backup only. Logical backup is not supported.
- The data must be saved to S3 (or S3-compatible API-enabled storage) and cannot be output locally or to another server.
The MongoDB backup feature was generally available (GA) in version 2.32.0, released in November 2022, and the above limitations no longer apply.
I'll introduce MongoDB in a separate article at a later date.
PMM Installation Instructions
Verification environment
| hostname | role | OS | MySQL |
| DB1 | sauce | CentOS 5.7 | 8.0.28 |
| DB2 | replica | CentOS 5.7 | 8.0.28 |
| PMM01 | PMM Server | CentOS 5.7 |
Building a PMM server
Official documentationWe will follow the Docker-based build method.
[At PMM01]
Docker installation
Up to the start of the PMM Server container
The management console is now running, so you can check it from your browser.
https://サーバのIP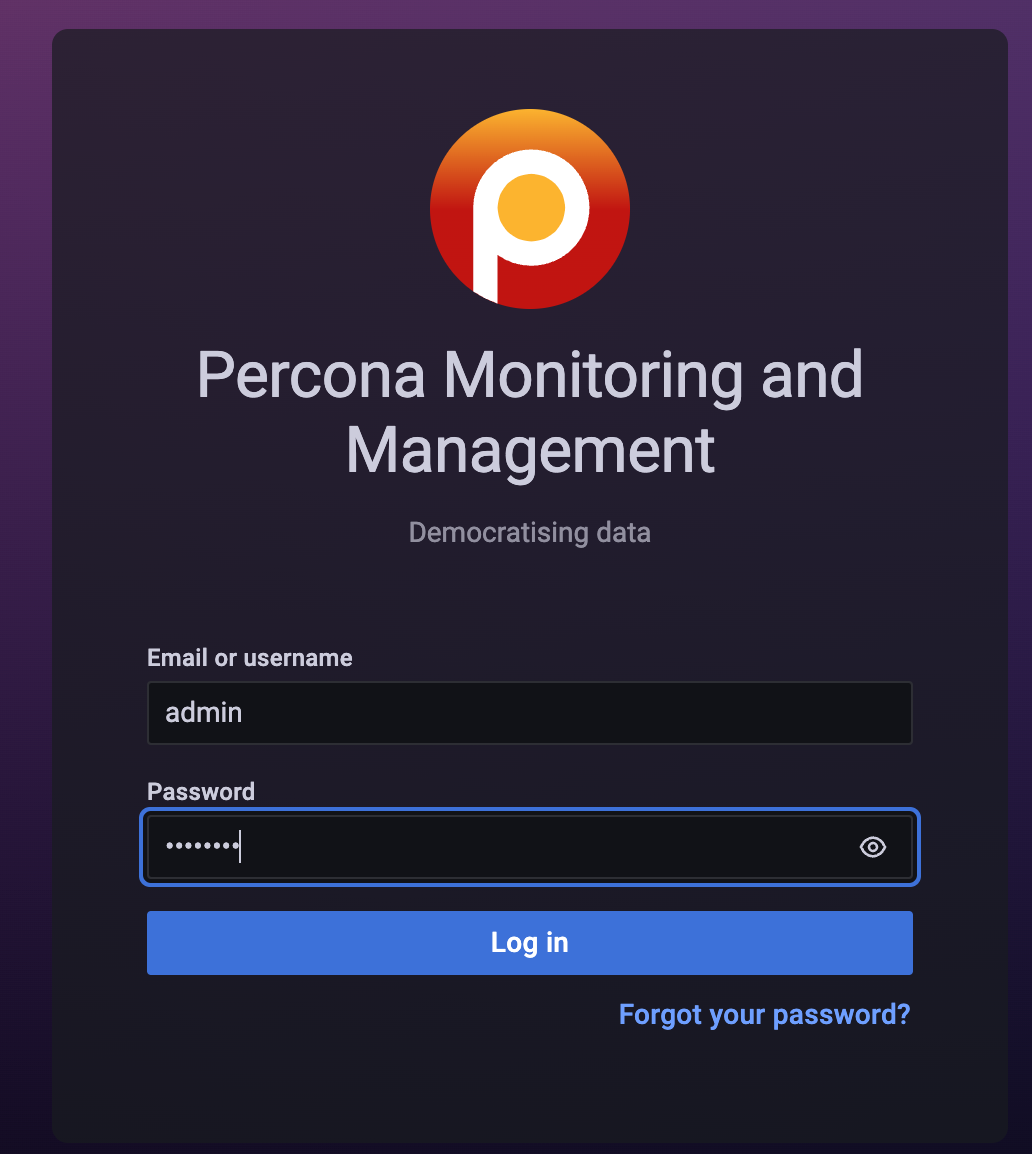
Installing the PMM Client and adding nodes
[In DB1 and DB2]
Install the client on the MySQL server you want to manage.
Create a user that can connect to MySQL from the PMM client.
Add the node using the CLI.
* You can also add nodes via the GUI, but in that case, the MySQL user you create must be accessible from the PMM Server.
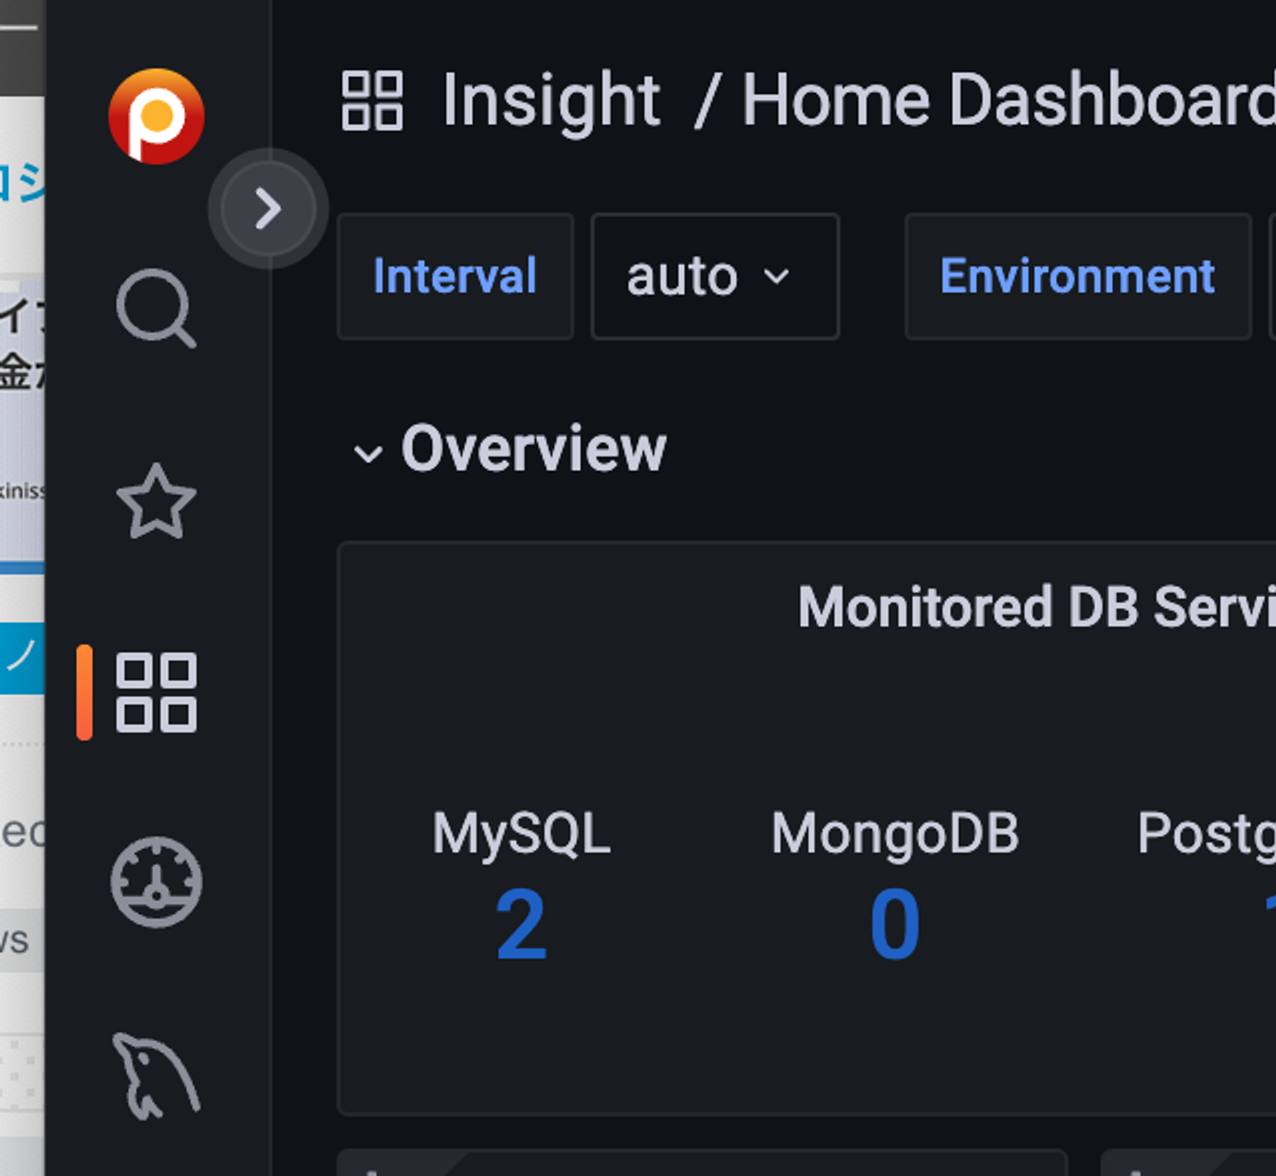
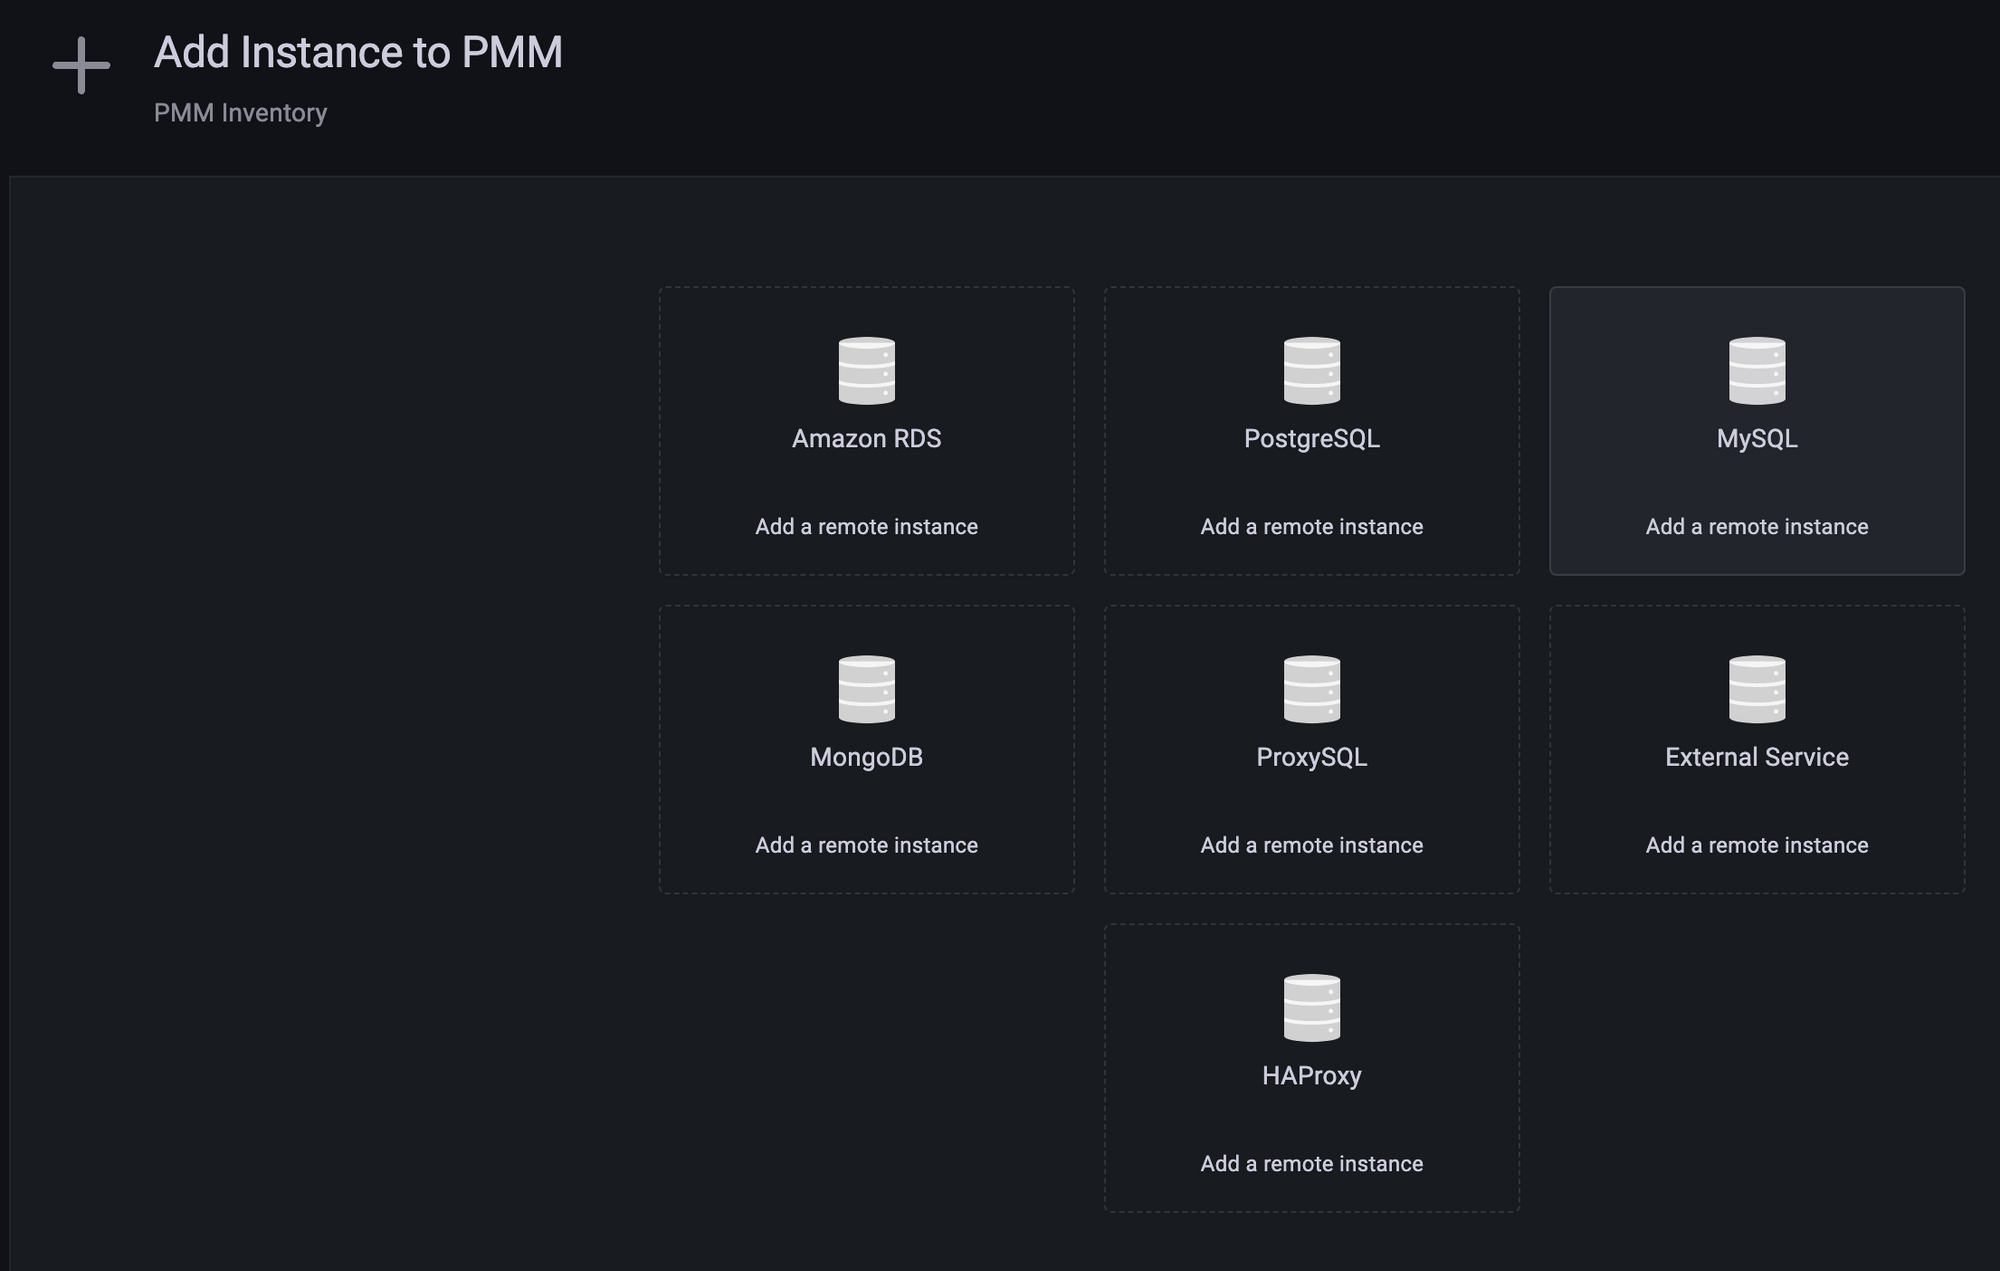
To add a node from the GUI, press the ">" arrow in the menu in the upper left corner.
Select [Configuration] → [Add Instance to PMM].
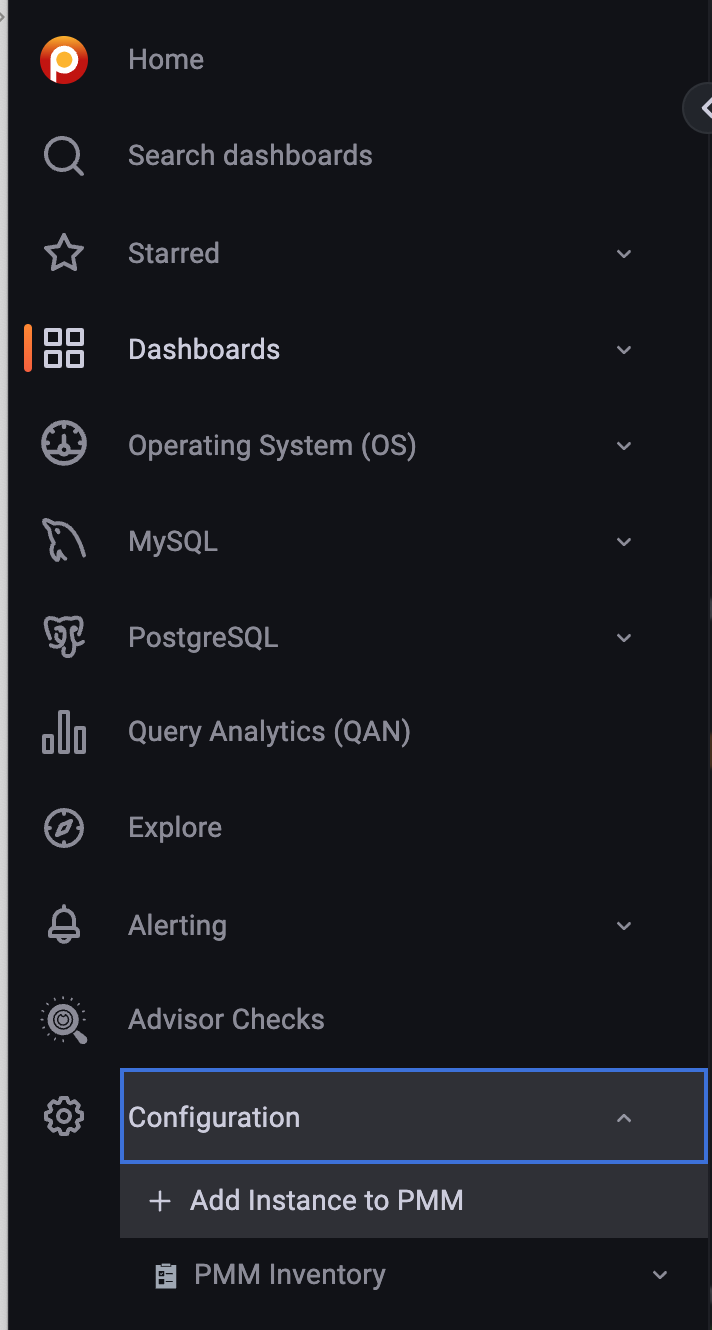
Select MySQL.
Enter the necessary information, such as connection details, and press Add service.
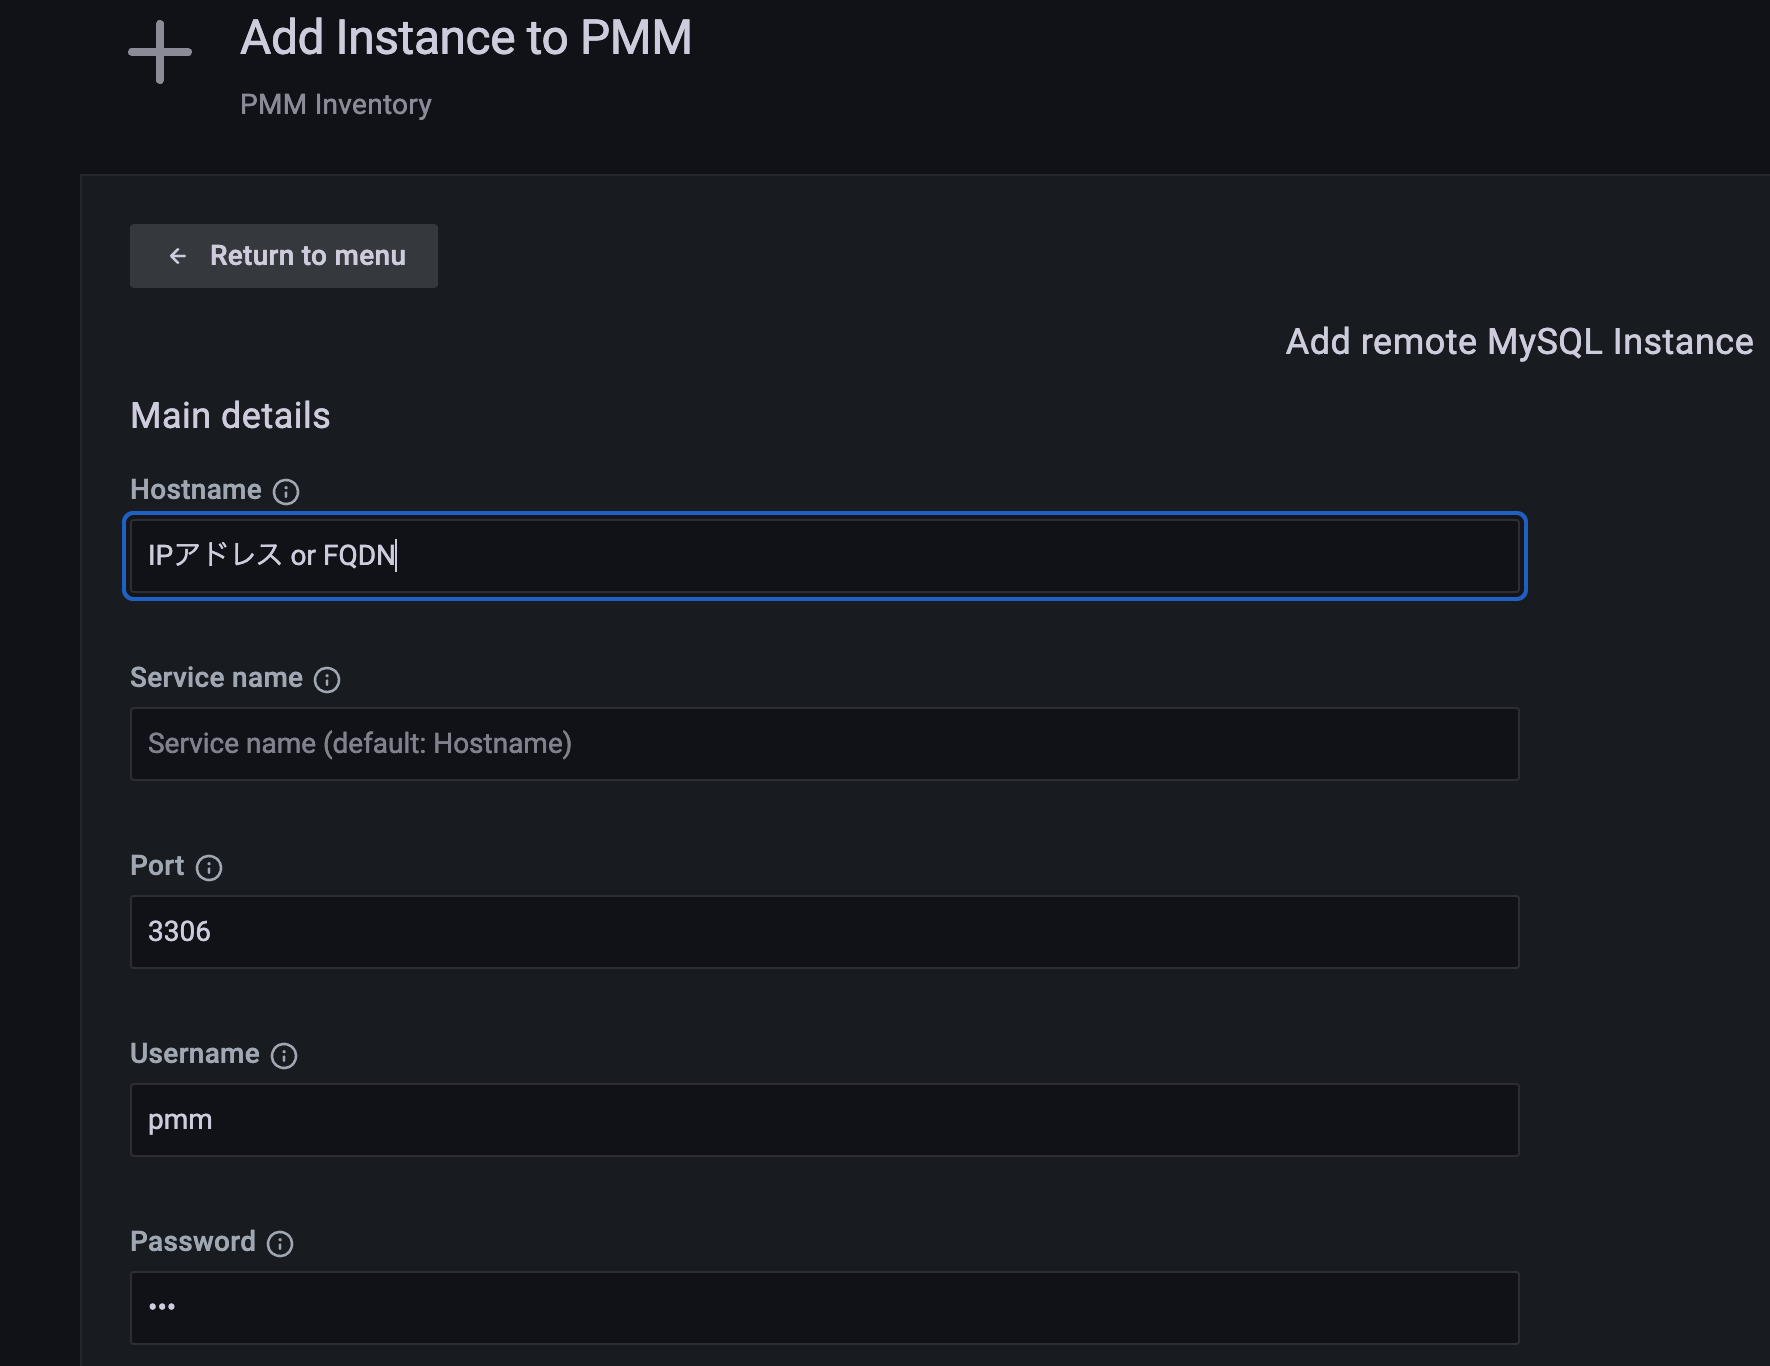
This allows you to add nodes from the GUI.
Perform backup and restore
Enable the backup management function of the PMM Server.
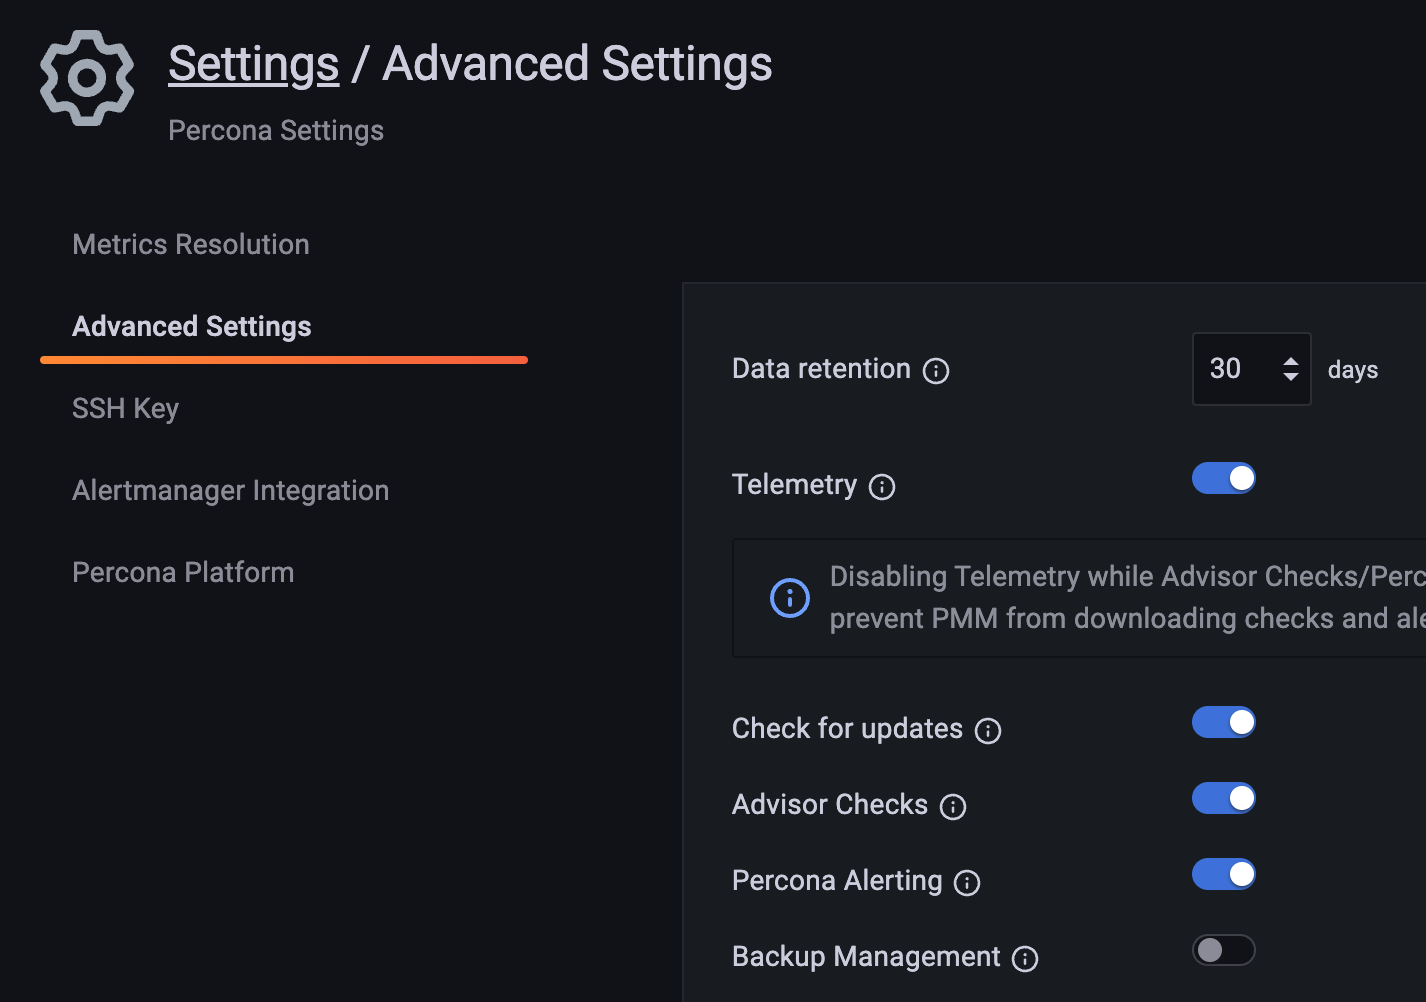
MySQL's backup management feature is in technical preview and needs to be enabled separately.
Select the gear icon in the left-hand menu bar → [PMM Settings]

Enable the [Backup Management] button in [Advanced Settings].
Prerequisites for PMM backup functionality
- PMM Client is installed
- The user connecting to MySQL via PMM Client has BACKUP_ADMIN privileges.
- MySQL is running with systemd.
- The mysql user and mysql group exist.
- The data directory is /var/lib/mysql
- Allow the pmm-agent user to read and write to the /var/lib/mysql directory.
- After installing the package, you can execute the following command.
xtrabackupxbcloudxbstreamqpress
Since the PMM Client has already been installed using the previous steps, and the MySQL user has the necessary privileges, we will now proceed with the parts that require attention.
This allows the pmm-agent user to read and write to the /var/lib/mysql directory.
Install the package so that the following command can be executed.
Perform a backup
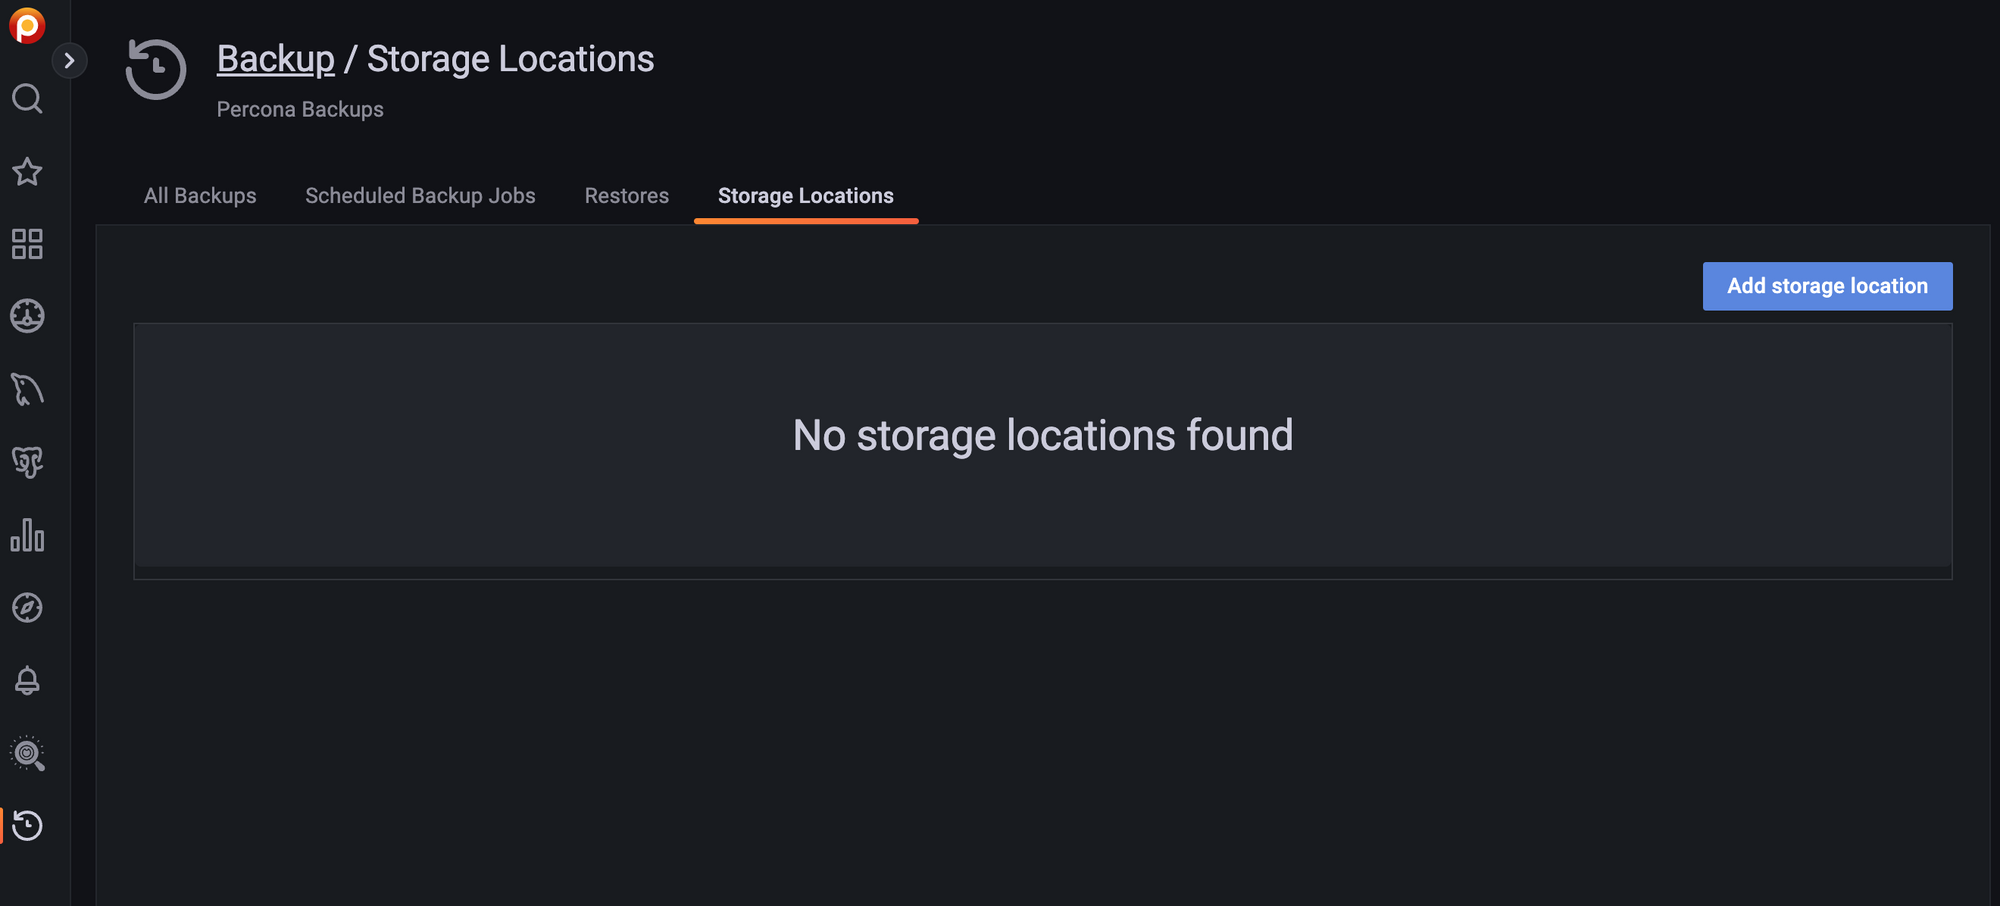
First, register the location where you want to store your backups.
Currently, only S3 (or a compatible API) is available, so we will register for S3.
*Please ensure you have created an S3 bucket and issued an IAM key that can access it.
Open Backup in the left-hand menu, then open the [Storage Locations] tab and click [Add storage location].
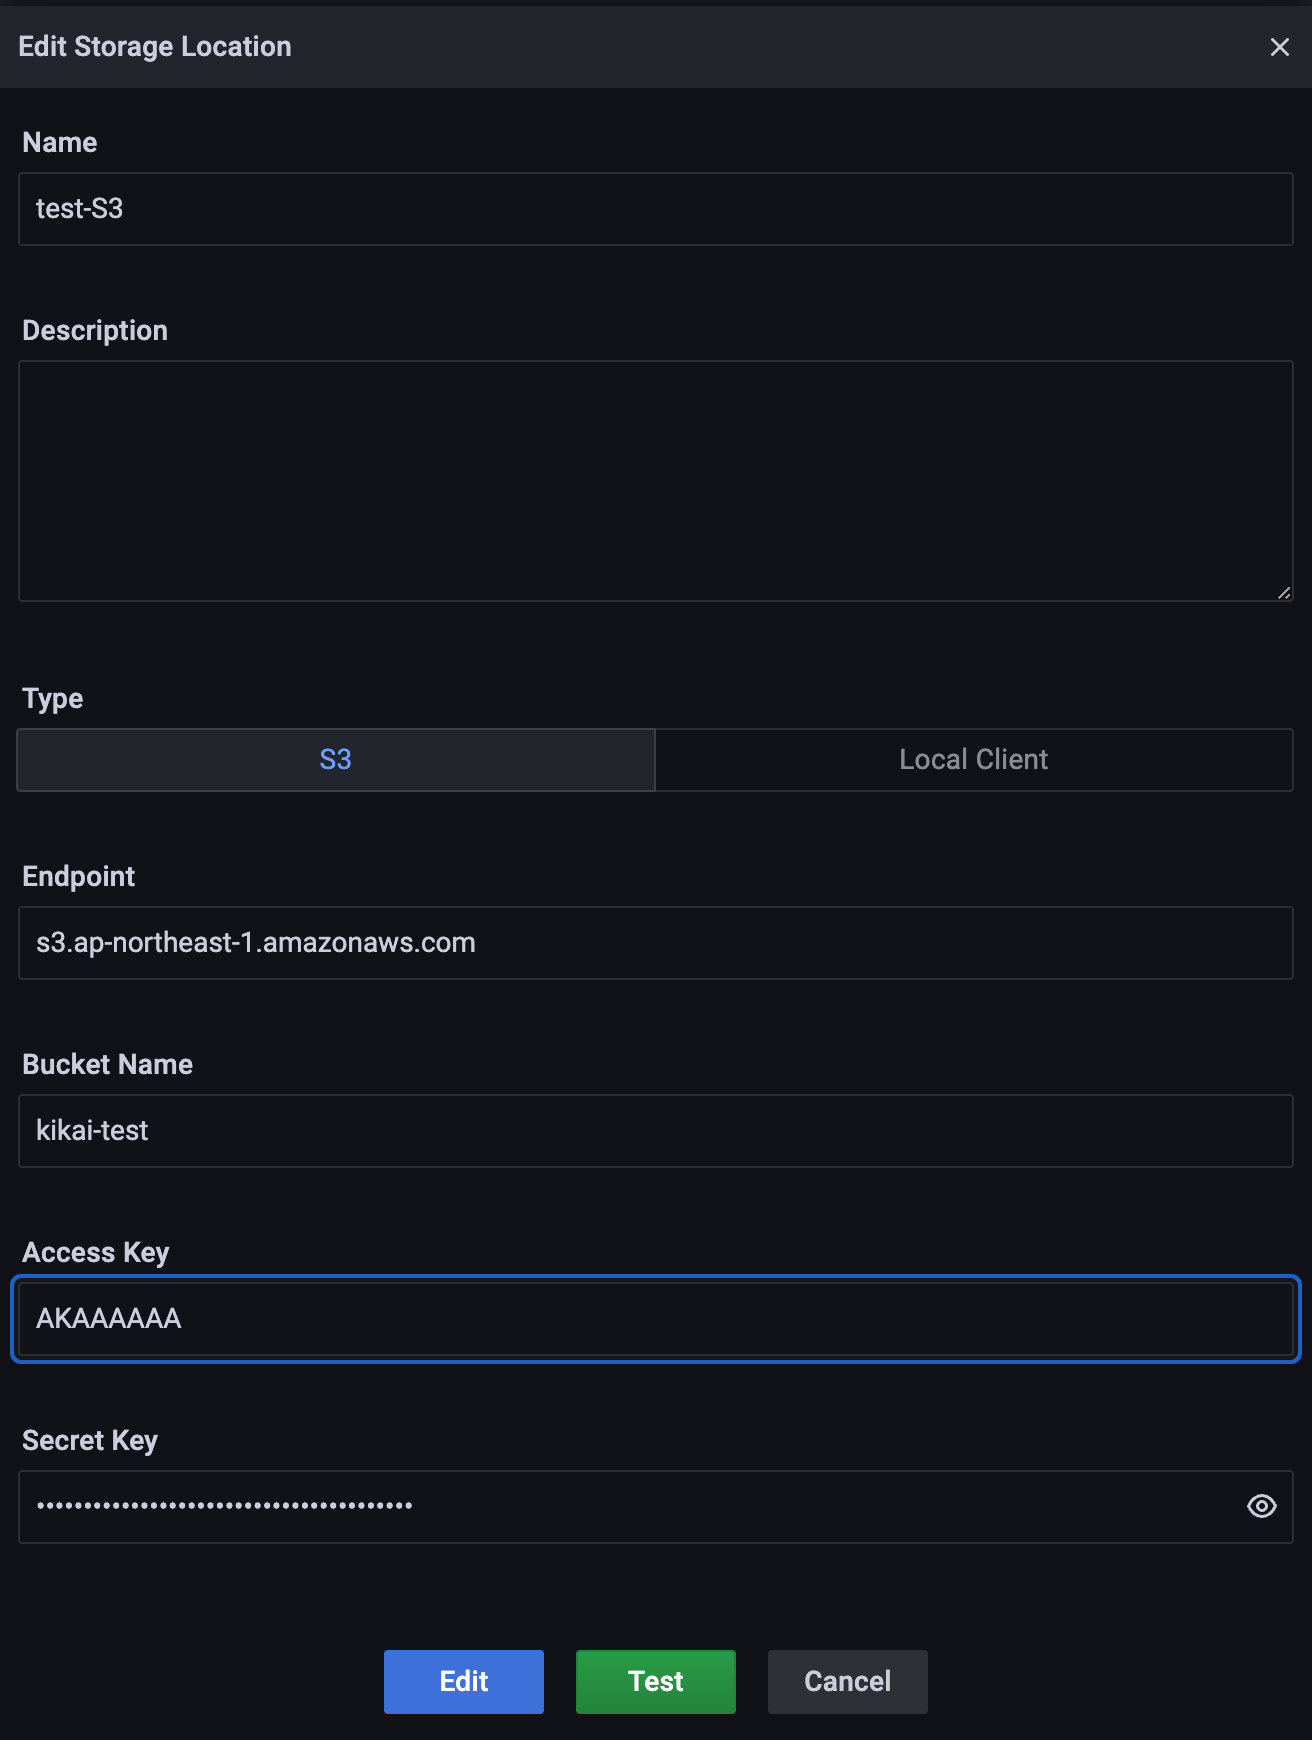
Next, enter the following information into the form that appears.
| Name | [Enter an easy-to-understand name] |
| Type | S3 |
| Endpoint | 【s3.ap-northeast-1.amazonaws.com】 |
| Bucket | [Bucket name created in S3] |
| Access Key | [IAM key to use] |
| Secret Key | [IAM secret key to use] |
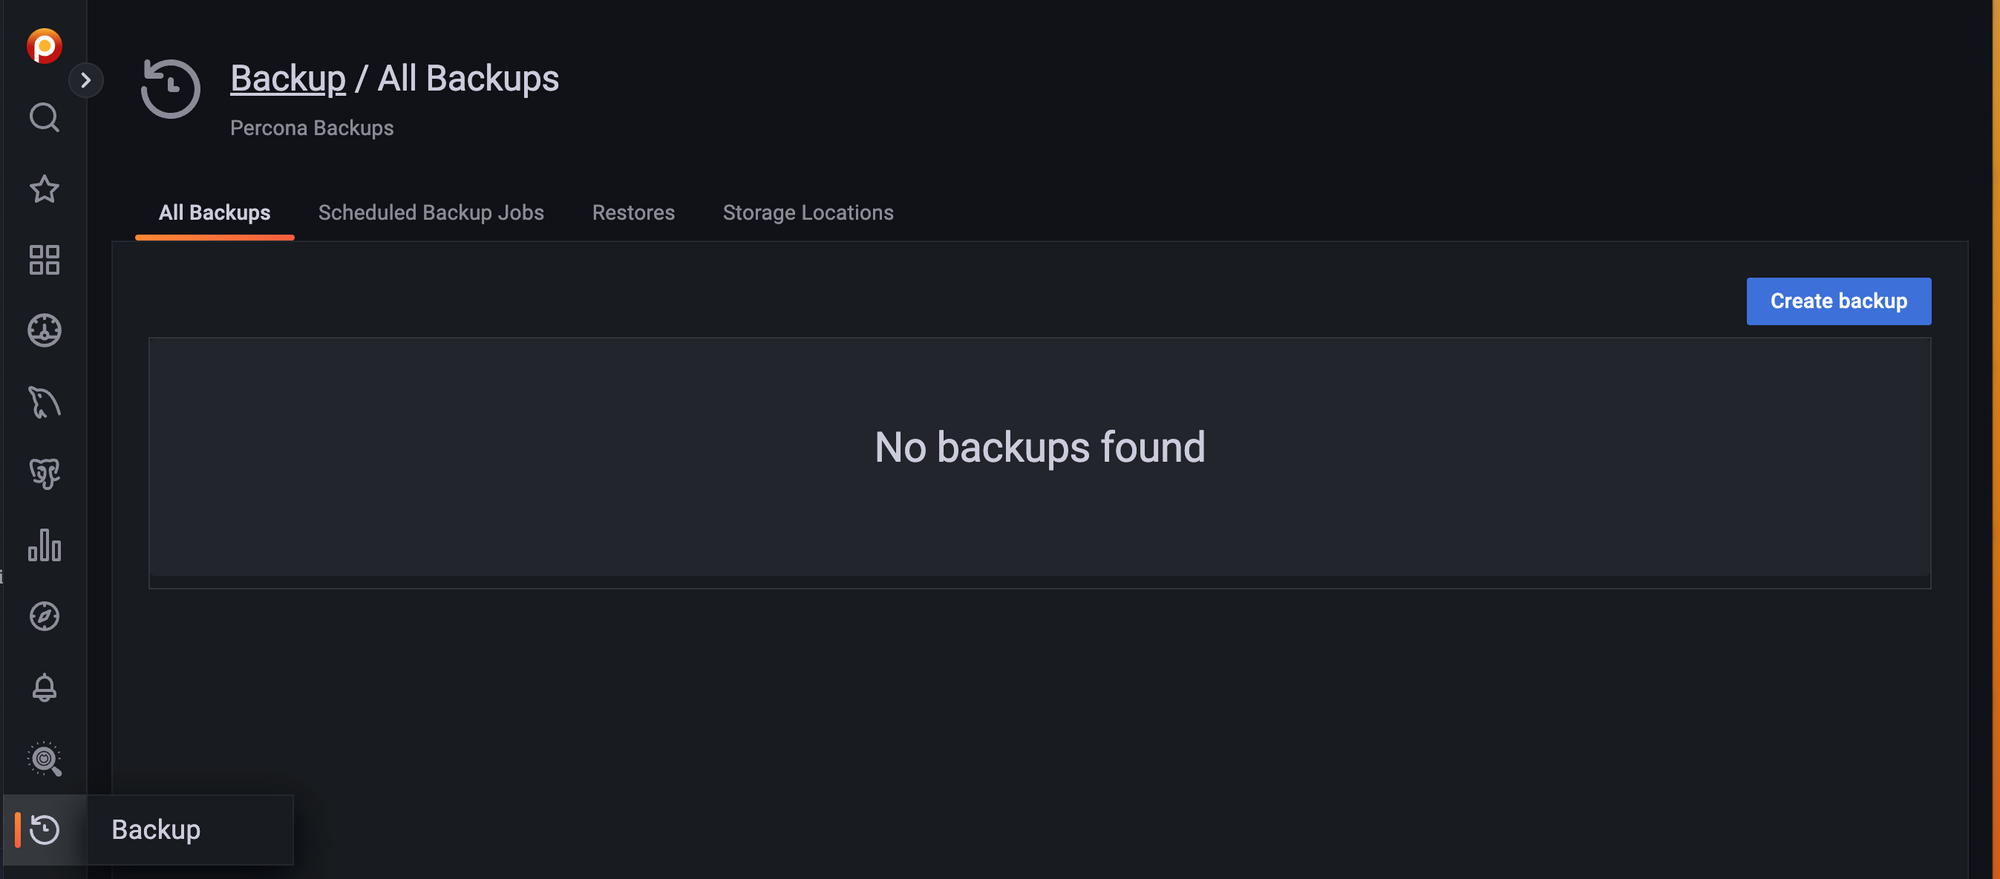
Once registration is complete, try creating a backup.
Open [Backup] in the left-hand menu and select [Create Backup].
Enter the required information.
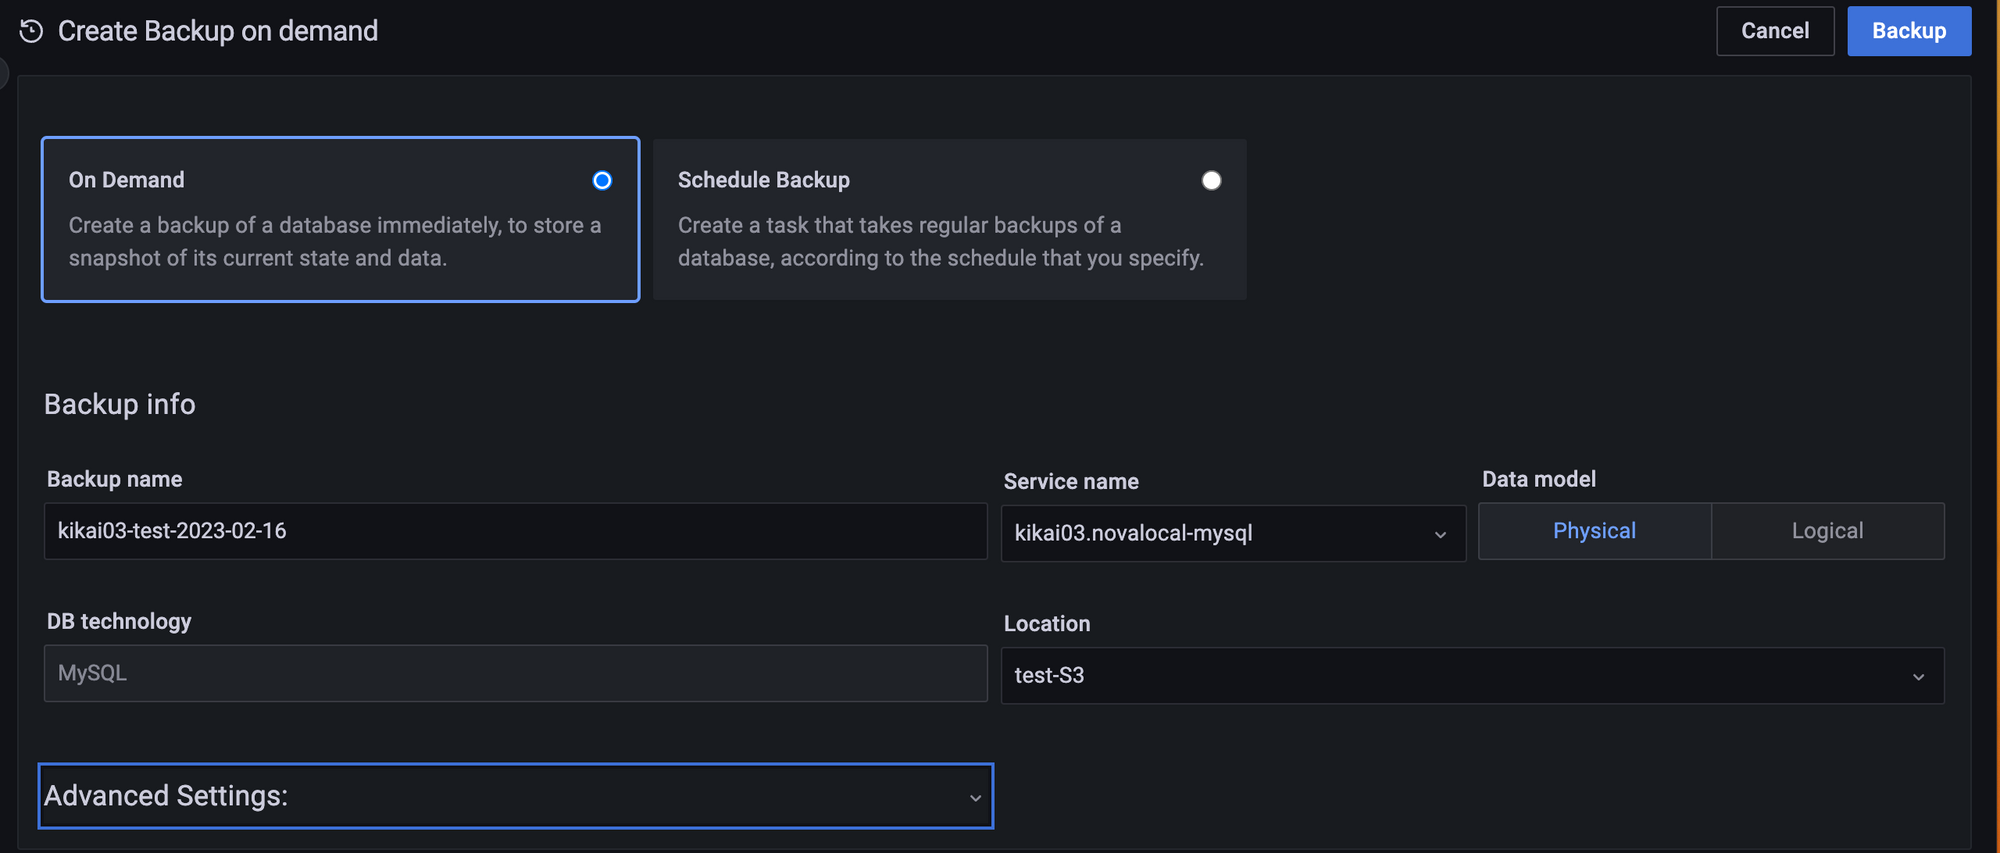
| Backup Name | Enter the hostname, date, etc. for clarity. |
| Service Name | Specify the server from which to take backups. |
| Data model | Currently (as of February 2023), only the Physical option is available. |
| Location | Select the S3 instance you just created. |
Once you've finished entering the information, press [Backup].
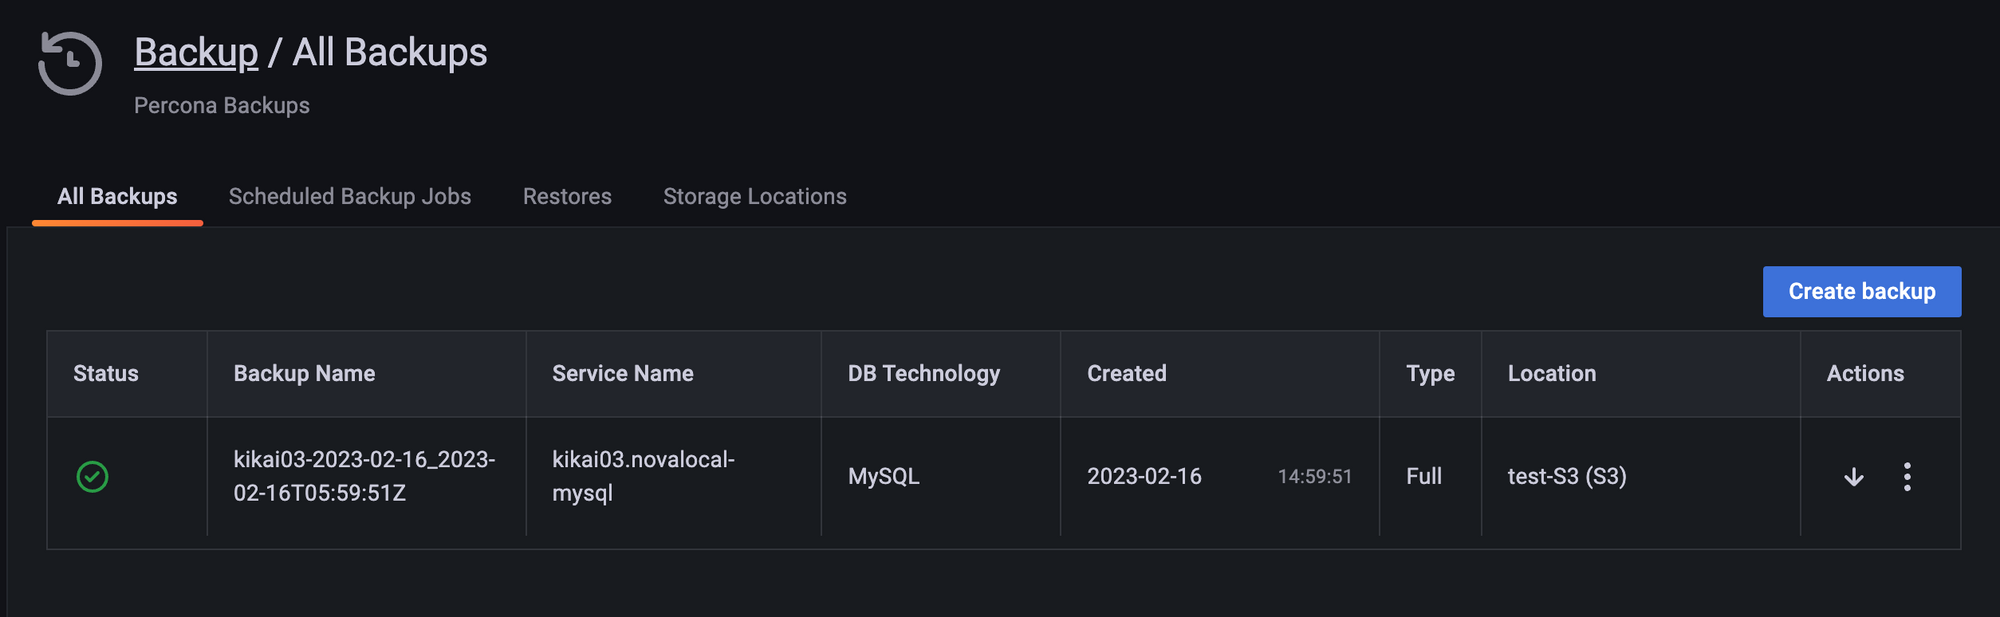
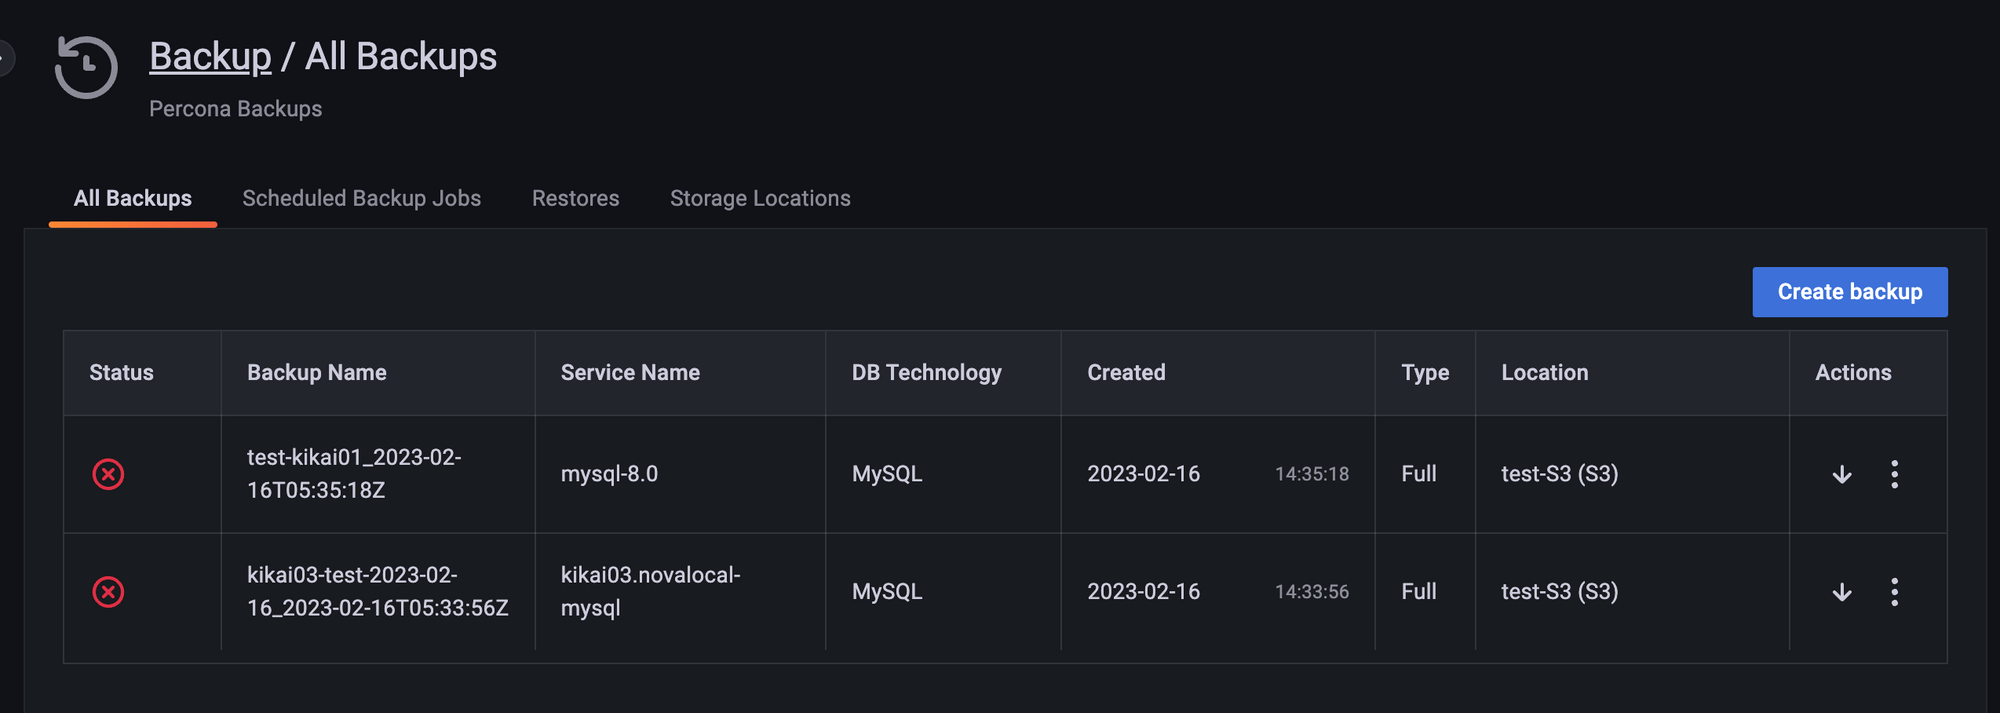
If successful, you will see a screen like this.
If it fails, you will see a message like the one below, but you cannot check the cause of the error from the GUI, so check the journal log of the server from which the backup was taken.
Try restoring
After taking a backup, create a new schema in the destination database and then verify that it has been properly deleted after the restore.
Restore.
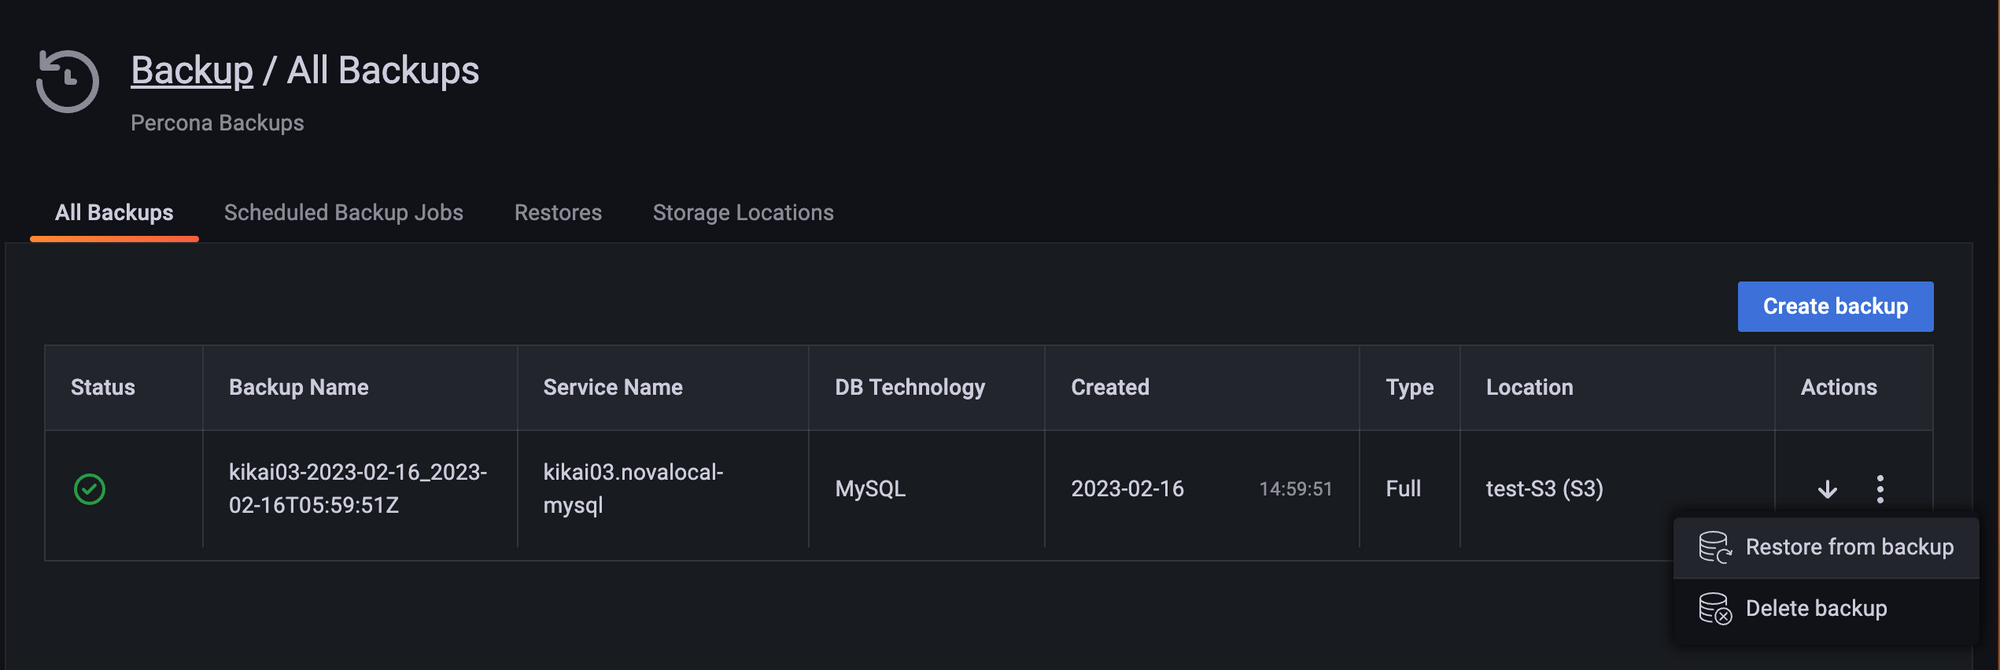
Select the three dots (...) at the far right of the backup list you want to restore, and then select [Restore from backup].
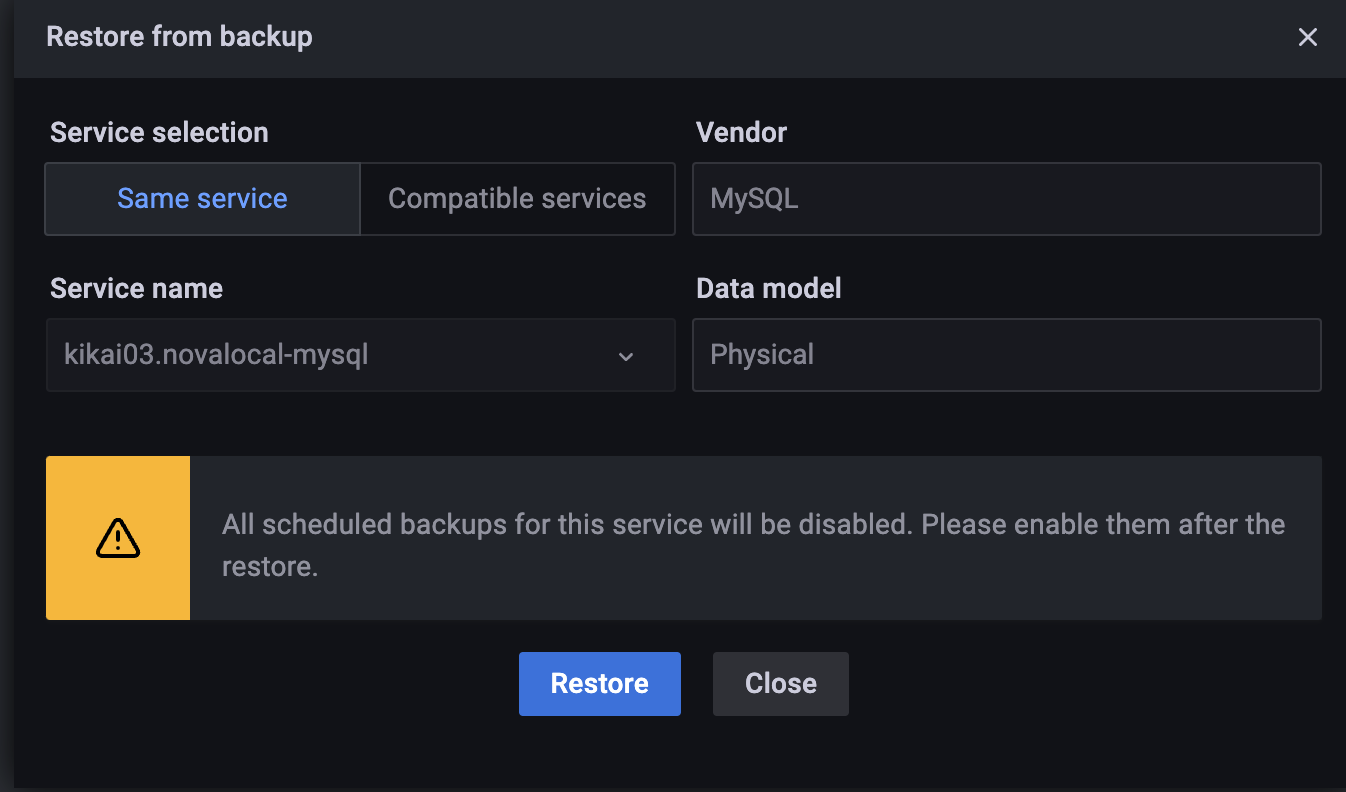
A menu will open, so press [Restore].
If "Same service" is selected in the Service selection, the system will be restored to the same server from which the backup was taken.
When selecting "Compatible services," it should allow you to choose a restore destination, but it didn't display any other server options. We are currently investigating this.
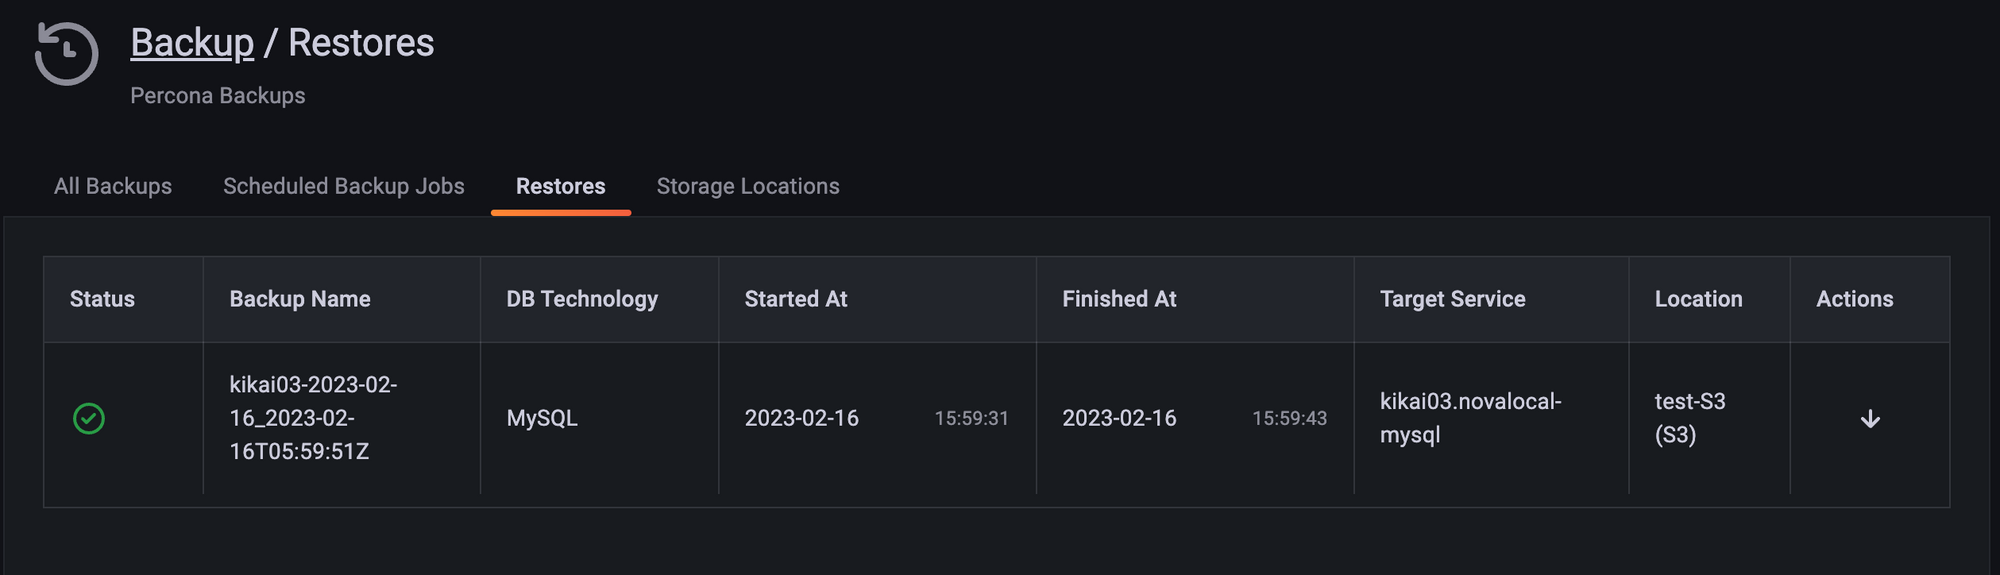
Once the restore is complete, the results will be displayed in the Restores tab.
Let's check if the schema we just created has disappeared.
It seems it was successfully deleted and has now been restored.
In conclusion
This feature showed great potential.
There are still many limitations, so I hope they'll make it possible to change settings more flexibly in the future.
I particularly want local backups and backups to a separate server.
Since this is already implemented using MongoDB, I'd like to try out MySQL's backup feature once it's generally available (GA).
SRG is looking for new team members.
If you are interested, please contact us here.